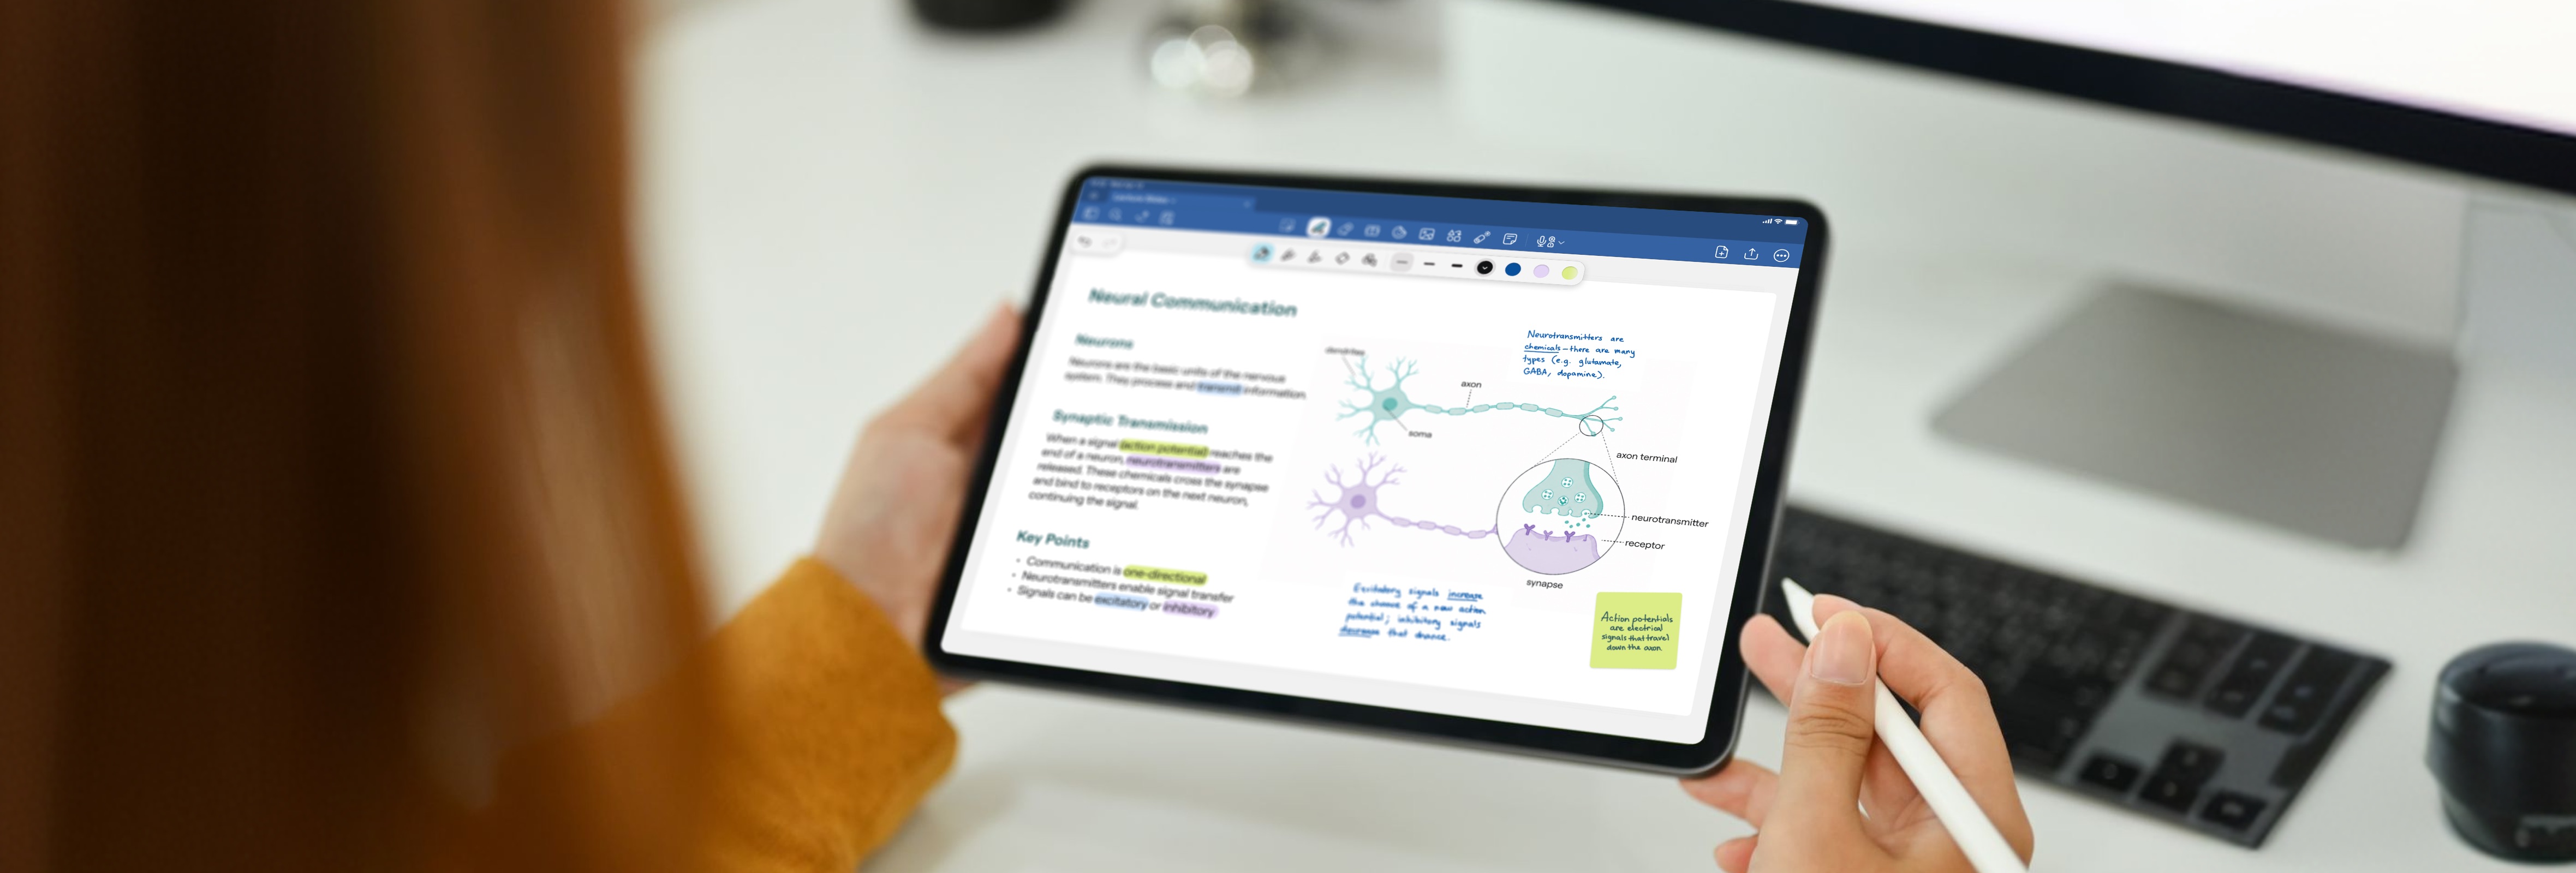
Got a new iPad for college? Set it up properly before term starts and you’ll be set for the year.
This guide will walk you through the setup, from your Settings to your Goodnotes account, all in under an hour.
Let’s get started.
1. Dial in your system settings first
Before installing any apps, spend five minutes setting the iPad up for focus.
Display & Brightness
Turn on True Tone and Night Shift, scheduled for the evening. You’ll be reading on this thing for hours, so it’s worth making it easier on your eyesight. If your iPad supports a higher refresh rate, the smoothest setting makes handwriting feel closer to ink on paper.
Notifications
Go through your apps and switch off anything you don’t need during lectures. Social media, games, and other unrelated apps can all go to scheduled summary, or off entirely. The group chat doesn’t need to interrupt your seminar.
Focus Mode
Most people miss this one, which is a shame, because it’s the most useful. Create a custom Focus called Study, allowing only the apps and people you need access to while studying, and silence the rest. Set it to switch on automatically at your usual study times or when you arrive on campus. Stack with Do Not Disturb if you need the extra focus.
2. Install Goodnotes and set up your first notebook (+ iCloud sync ON)
Goodnotes is free to download. Grab it from the App Store before anything else. You will need it to continue the rest of the setup.
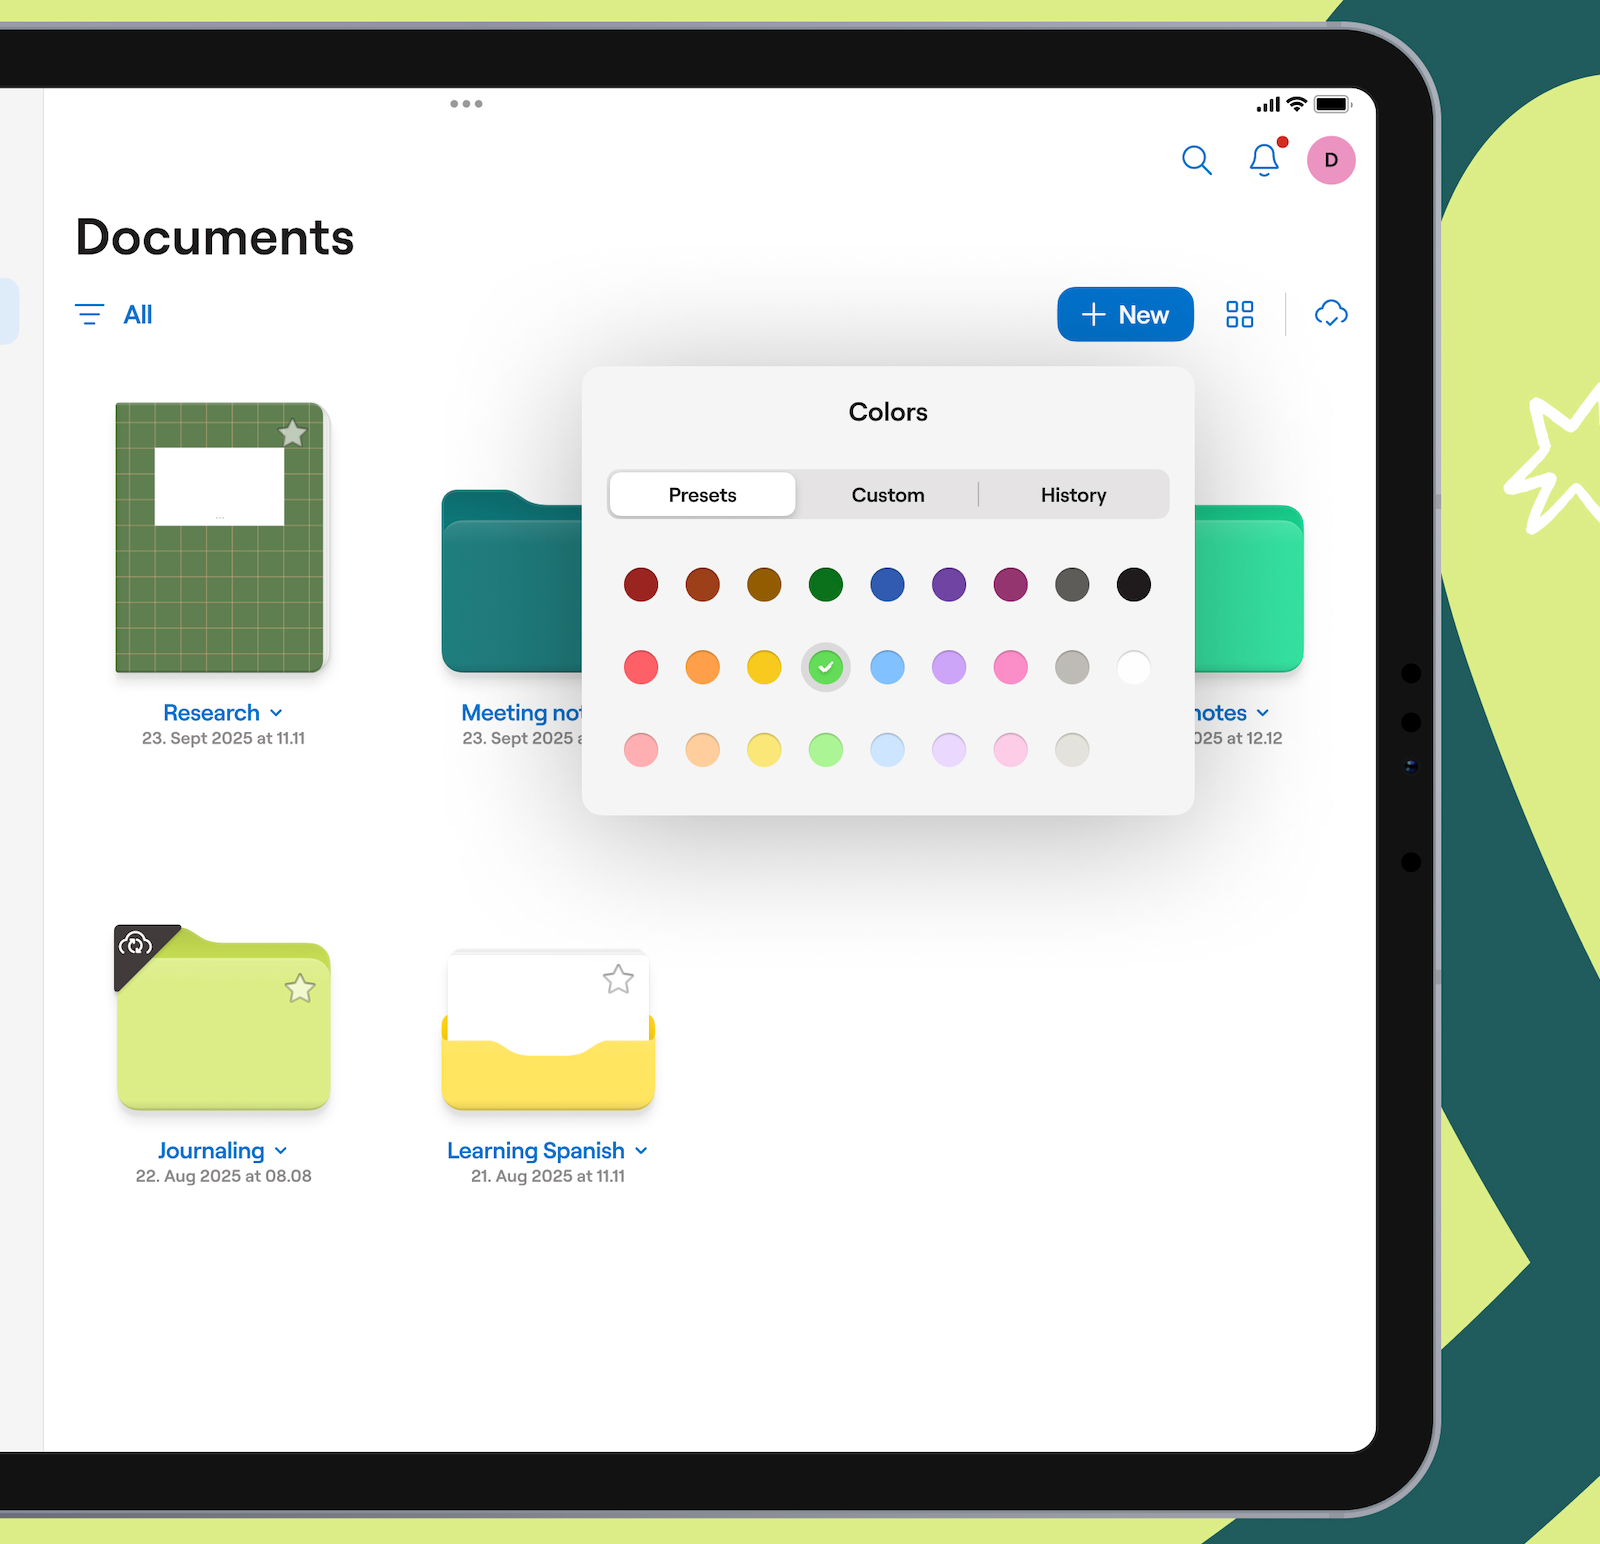
Open it and create your first notebook:
- Tap the + and choose Notebook
- Pick a cover and a paper template. Clean ruled or dotted paper is a fine start; you can add subject-specific templates later.
- Name it for you first class, e.g. PSYC101 - Intro to Psychology
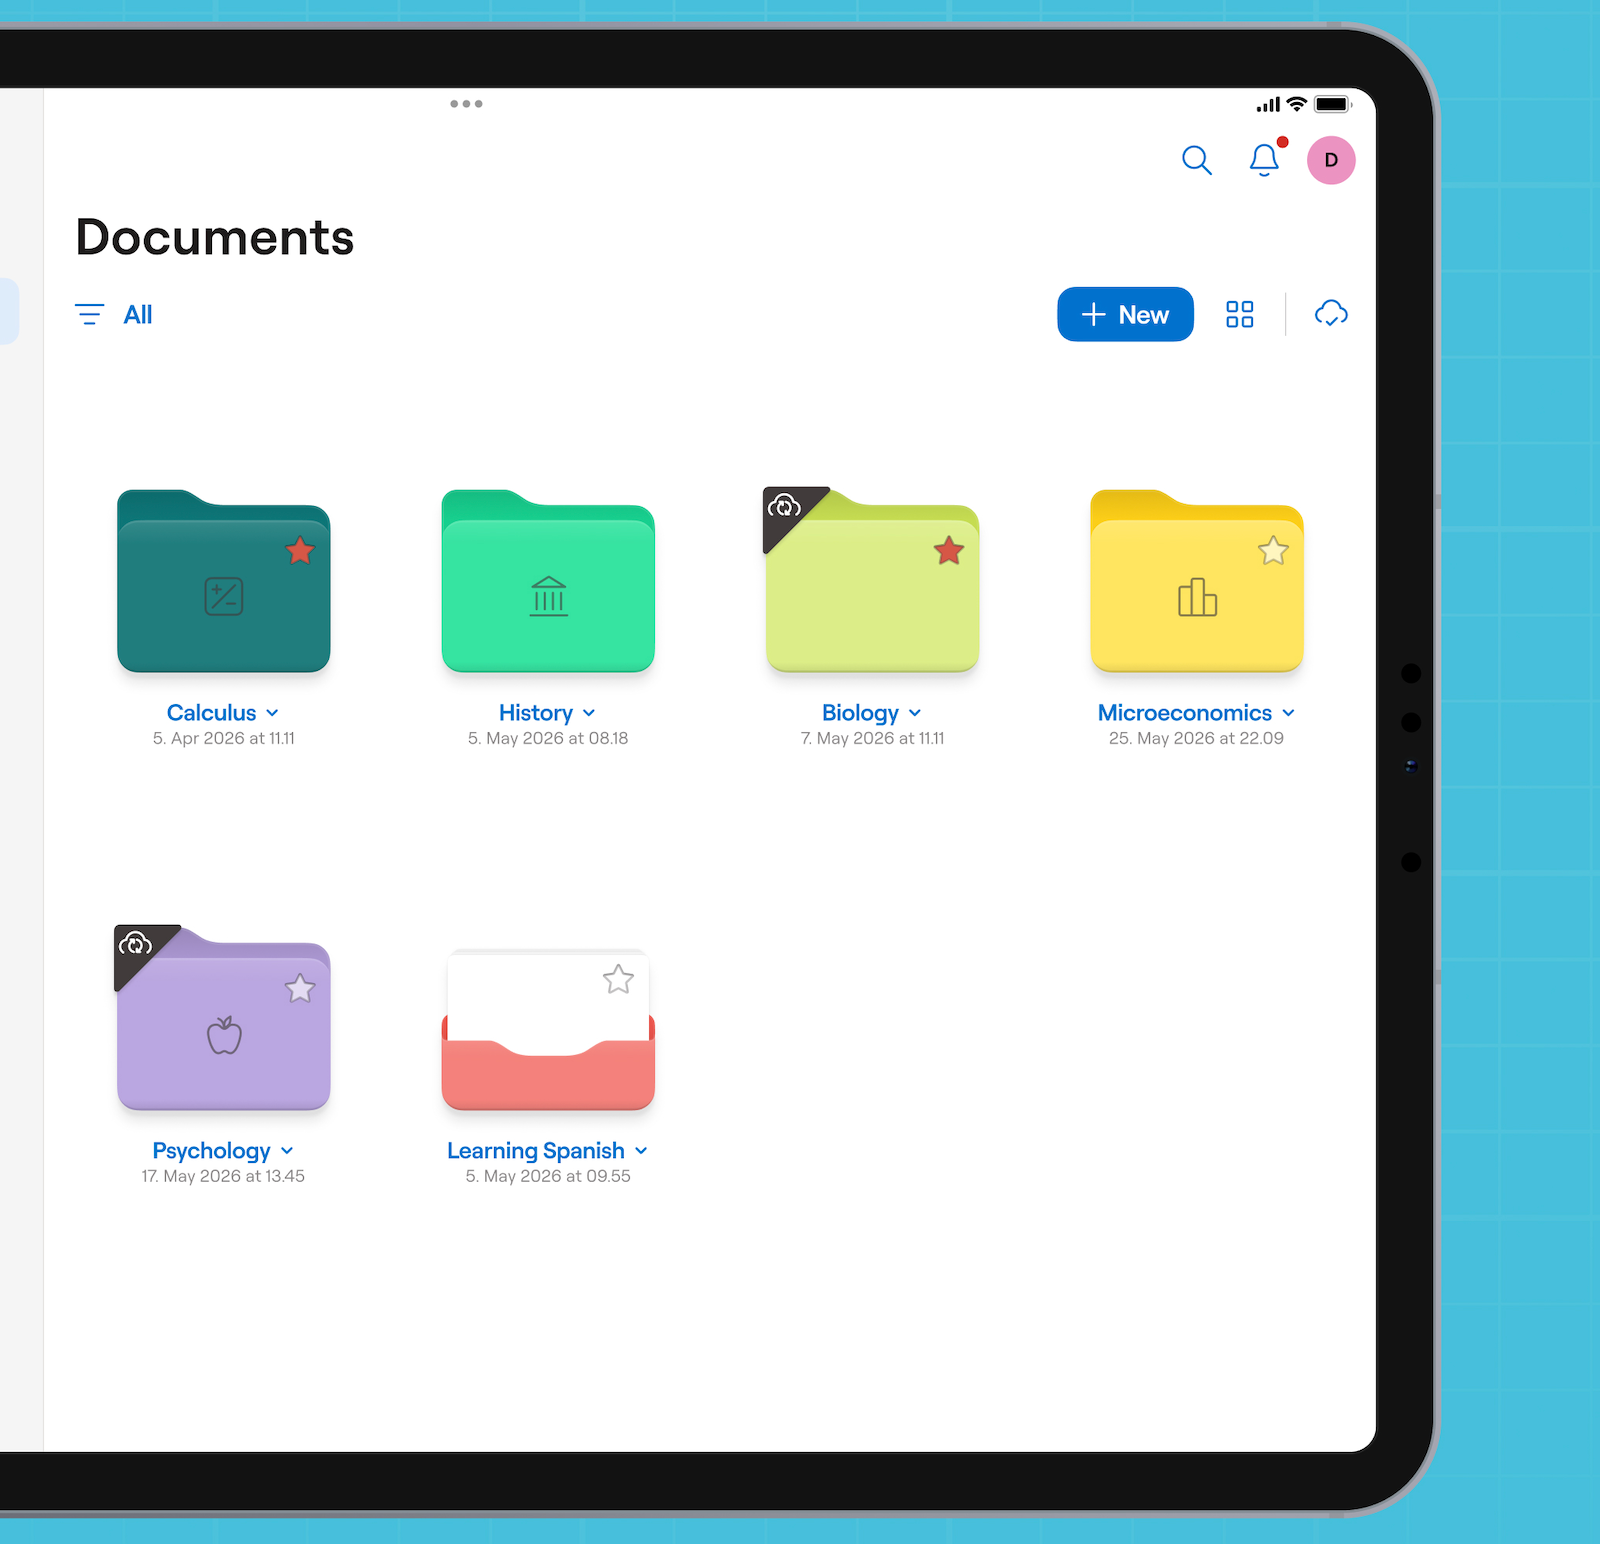
- Make one notebook per subject. A tidy setup now means you’re never searching for last week’s lecture later.
- If you have an Apple Pencil, pair it here: Hold it near the iPad and tap Connect. Spend a couple of minutes here customizing your Pen settings. Goodnotes also works well with a keyboard and typed notes, so you can start today and add the Pencil whenever you’re ready.
- While your notebooks are fresh, turn on sync so they follow you everywhere. Head to Settings -> iCloud in Goodnotes and switch it on. Now you can take notes in the lecture on your iPad, review them on your phone on the bus, and write up an essay on your Mac with the same notes open.
- Sign into the same Apple ID on each device, give it a minute for the first sync, and never worry about losing your notebook again.
3. Import your syllabus and timetable
Every class hands you a syllabus, almost always as a PDF. Rather than letting it sit unread in your inbox, import it into Goodnotes where you can refer back to it regularly
- Find the syllabus PDF file, tap the share icon and select Open in Goodnotes. You can also import from inside the Goodnotes app from the + menu.
- Move the PDF into the subject’s notebook or folder.
Now your syllabus, deadlines, and reading list sit right next to your notes.
4. Add subject templates
Now that each subject has a notebook with real material in it, give it the right paper. When adding a new page, select “More from Templates” to find the dozens of free paper templates for work and study. If you’re looking for something more specific, head to Goodnotes Marketplace where there are more subject specific layouts for certain subjects like medicine and law. Pull the ones that fit your subjects into your notebooks.
What apps should every college student download besides Goodnotes?
Wondering what other apps you should also be using with Goodnotes? Here are a few:
A calendar, whether it’s iCal or Google Calendar to hold the deadlines from the syllabus you just imported.
A reference manager like Zotero makes it much easier to organize essay citations so that you’re not pulling all-nighters by March.
Check out the best iPad apps for students for more.
Quick-start checklist: Setup your iPad for school
- Tune your settings - True Tone, Night Shift on, and trim down notifications
- Build a Study Focus Mode - set to turn on automatically during study hours
- Download Goodnotes and make one folder/notebook per subject
- Turn on iCloud sync so your notes are on every device
- Import your syllabus, readings, and timetable as PDFs straight into Goodnotes
- Add subject templates as necessary, including from Goodnotes Marketplace
- Add supporting apps, like calendars, reference managers
Walk through this checklist before your first class, and you’ll be able to focus on the lectures without fiddling through your notes.
You’ve got the iPad. Now make it indispensable.
Goodnotes is free to download. Install it before term starts, build your notebooks tonight, and you’ll start the semester ahead instead of catching up.